Tabs

 photo 1_zpsaevl5qya.jpg photo 2_zps1mmrug81.jpg photo 2_zps1mmrug81.jpg photo 3_zps6wyhvccd.jpg photo 2_zps1mmrug81.jpg

Sunday, November 20, 2016

DIY Gift Wrap

Another challenge I faced was finding the perfect gift wrap to match the theme. During this time of the year, most of the gift wraps were red, green, blue and super cutesy. But that don't match mine! While gold gift wrap is not hard to find, black & white gift wraps are really hard to find. On top of that, I wanted stripes and polka dots.


So I created my own gift wrap! For the black & white ones, I used a couple A3 size white printing paper and drew on polka dots using marker and painted the stripes (yes, hand painted!) with black acrylic paint. Draw stripes with pencil & ruler first for straighter stripes before painting them.

The gold one was a little too plain so I added white sticker dots on them and its super cute! Now I feel all Kate Spade-y!


I added the black & white striped paper bow on it and it look gorgeous!


 photo name3a_zps4tnhc2mj.png
Share this post!
Pin This Share on TumblrShare on Google Plus Email This

Friday, November 18, 2016

Up-cycling Christmas Ornaments - Spray Paint Christmas Balls

The theme for this year's Christmas is Black, White & Gold. But I can't seem to find black or white Christmas balls for the tree! All I saw were gold, silver, red, pink, blue........ WHERE'S BLACK & WHITE? So I had to make my own.


We had these red Christmas balls last year and I thought it will be a great idea to up-cycle these. All you need for this project is your old christmas balls and spray paint colour of your choice. First off, remove the top cap or tape around it. I inserted wooden skewer into the hole so I can spray paint evenly by simply twisting the stick.


My spray paint box set up. Initially I thought this was easier to spray paint but then I realize there were areas that are hard to reach in this set up. Hence I just sprayed ball by ball using the stick twisting method. Much faster and more even coats!


After each coat, I stick them into some leftover styrofoam so they can dry nicely without smudging the surfaces. I did two coats for black and 3 coats for white.


After completely dried, remove the tape and ta-dah! As good as new!


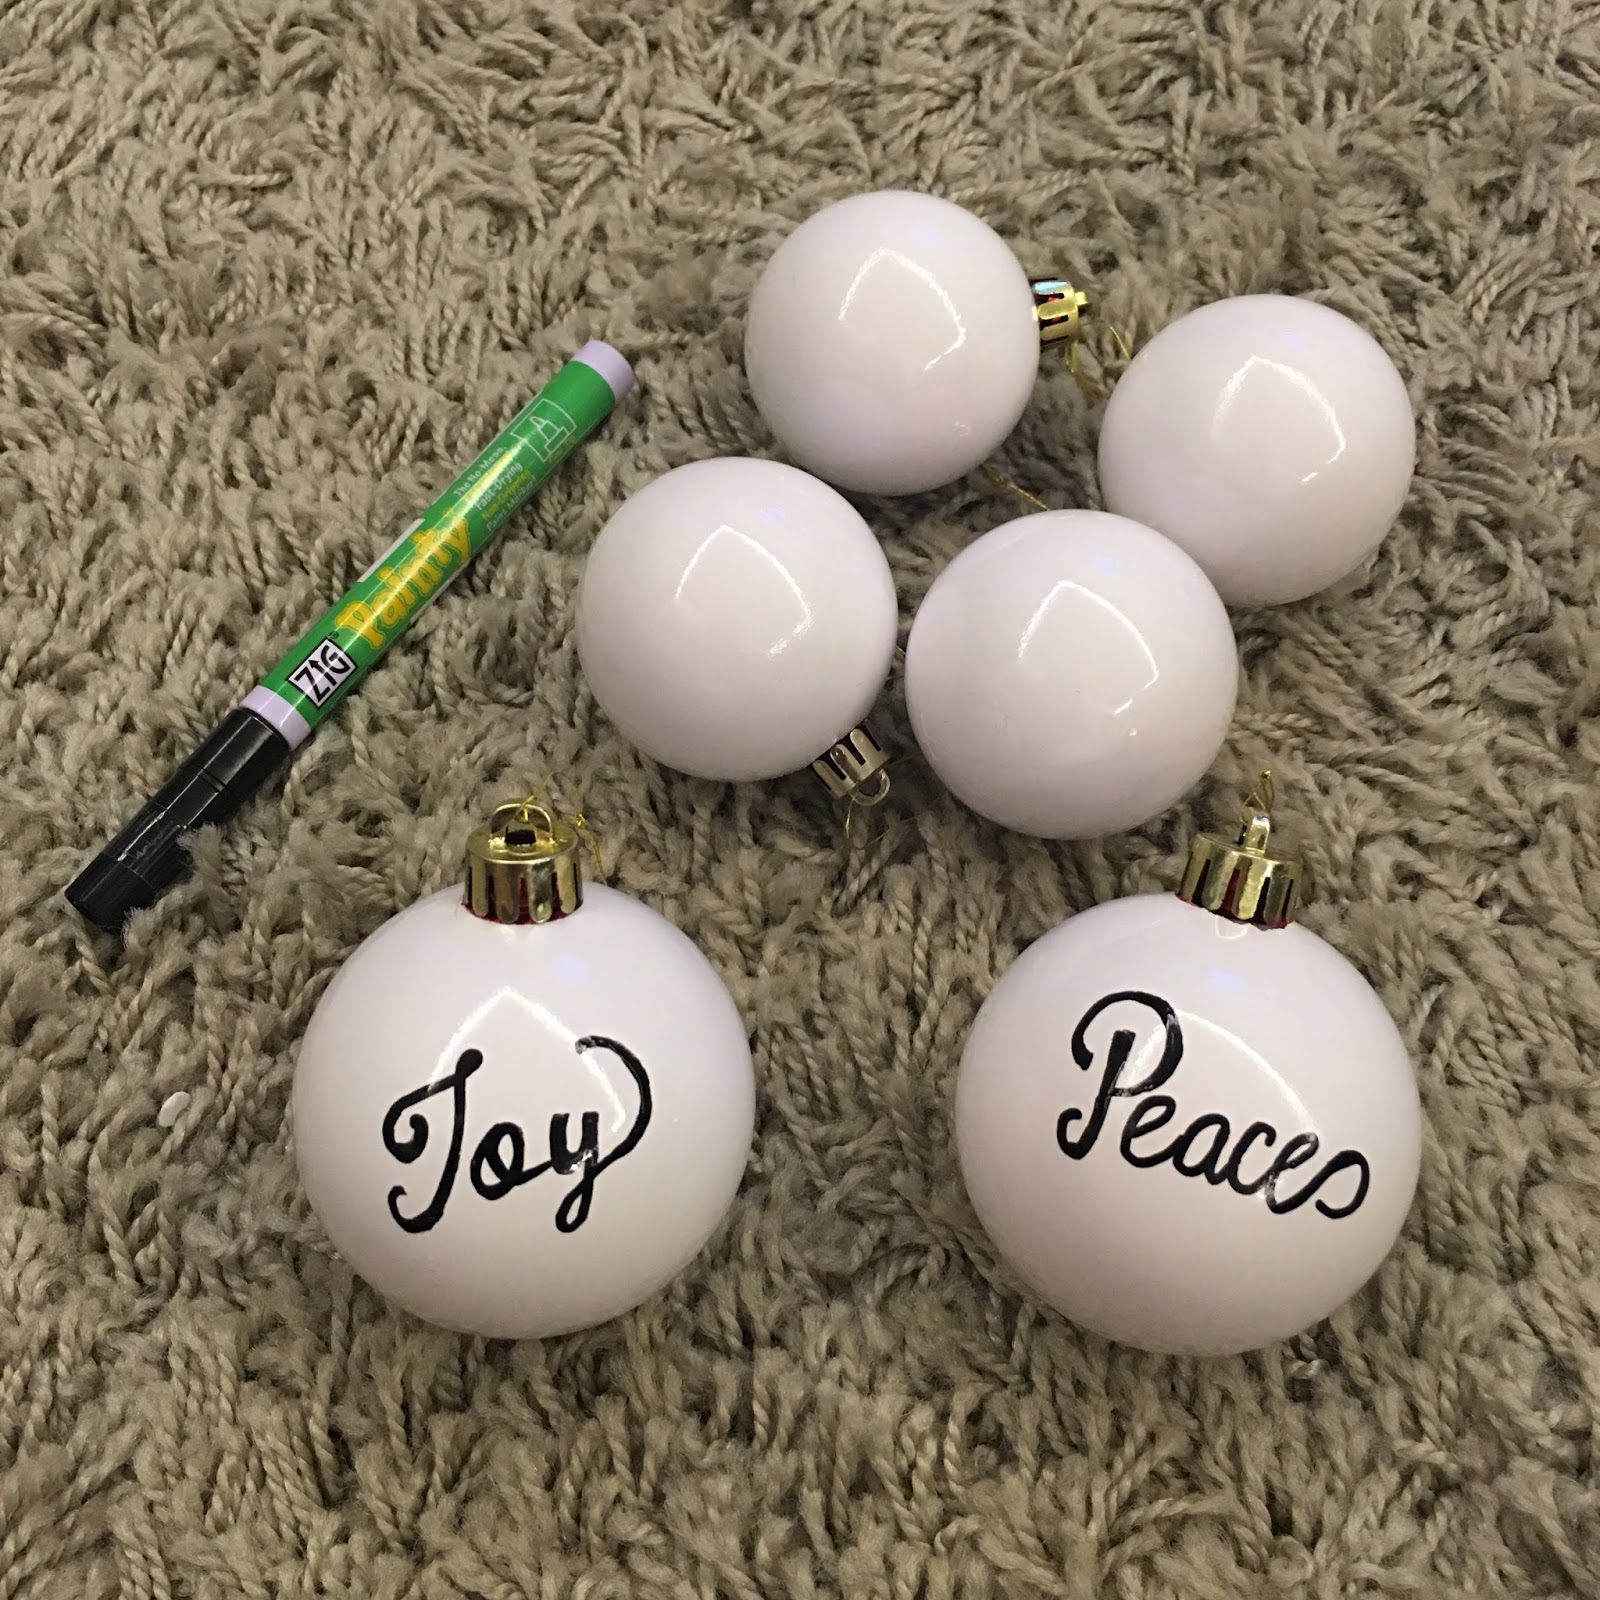
Then I proceed to hand write some Christmas words on to the balls such as Merry, Peace, Joy etc. One tip, research on the font you want and practice writing before writing on the balls. You wont be able to remove any mistakes without ruining the spray paint! I used oil based markers for permanent results.


Besides writing words, I also drew gold polka dots on a couple of balls. Hope you have fun making your own Christmas Balls!
 photo name3a_zps4tnhc2mj.png
Share this post!
Pin This Share on TumblrShare on Google Plus Email This

Tuesday, November 15, 2016

DIY Christmas Ornaments

Have you ever saw something online, want it real bad but just couldn't source it? That's happens even more when you are scrolling through Pinterest, seeing all those great things people shared. While browsing Pinterest, I fell in love with this Christmas tree decor by Kara's Party Ideas. I knew I had to recreate my own ornaments (cuz I can't find it anywhere in Singapore!).


I created three heart designs in two sizes and cut them out. I chose to go with Black, White & Gold theme for this year's Christmas.


 Because they were printed on normal printing paper, they won't be able to hold their shape when you hang them on the tree. Initially I though of sticking them on cardboard to make them thicker but that would be a lot of work (tracing heart shape on the cardboard, cutting them out one by one). Hence I thought of laminating them! It will make the paper hard and protect it from wear and tear, and its easy!


I used A4 size laminating pouch and try to squeeze in as many hearts as possible to fill up the pouch. Do leave some space in between for cutting later.


The colour looked more vibrant after laminating! Let the laminated sheet cool for a while and cut out the shapes leaving about 2-3mm of border.


Punch a hole in the middle and tie a string or ribbon to it and you're done!
Hang them on the tree now!


You can print what ever design or shape you desire and you can have your own DIY Christmas Ornament! Super budget friendly too!

Now if you like my theme this year, here's the free printable for you! Happy Holidays!
Black, White & Gold Heart Shape Christmas Ornament Printable - Big
Black, White & Gold Heart Shape Christmas Ornament Printable - Small


 photo name3a_zps4tnhc2mj.png
Share this post!
Pin This Share on TumblrShare on Google Plus Email This

Friday, May 13, 2016

How to organize plastic bags

I am embarrassed to say that I have a plastic bag problem. I don't have a way of storing or tidying them and they are just trashed inside a bigger plastic bag. One day I went crazy trying to find a suitable size plastic bag I need and ended up with whole floor full of plastic bags. So I thought to myself, "This is it! I am done!" and came up with this idea of organizing my plastic bags.


First up, I folded the plastic bags into triangles. You can learn how to fold them here. As I fold them, I sort them in three piles: Small, Medium & Large bags. This way it is easier for me to grab the size I want whenever I needed.


I had a few empty tissue boxes around the house (yes, i hoard them for projects like this) and it will be used as the container to store the bags. I cut the top off and was left with a prefect container.


Then I did a trial test on how to arrange the bags in the box. This is the way I find is neat and easy to see.


You could by all means stop here but you know I have to make them look a little prettier. So I wrapped them with some leftover wrapping paper and that's it! I covered the insides of the box too so I don't see the cardboard but if you noticed, I ran out of wrapping paper for the one on the right. HA! Each box holds different size bags.


I stored these boxes under the kitchen sink on a rack so I make use of the vertical space and also able to store some kitchen sponges and detergents under the rack.


The best part of this project is that it's FREE! I don't have to spend a single cent for this project and able to reuse items instead of throwing them away. Sometimes you just need to shop your house and you'll be surprise what you can find!
 photo name3a_zps4tnhc2mj.png
Share this post!
Pin This Share on TumblrShare on Google Plus Email This

Friday, April 29, 2016

DIY Ottoman - IKEA Lack Coffee Table Hack

I knew I wanted an ottoman in the walk-in/dressing/beauty room but didn't know what to get. After browsing through Pinterest, I decided to make my own!


STEP 1: MEASURE & CUT THE FOAM, BATTING & FABRIC

I took the table top, placed it on the foam, leave about an inch of border (I eyeballed it) and cut it with the box cutter. For the batting & fabric, I leave about two inches of border for easier pulling when stapling.


As my foam was thinner, I have to use two pieces to form a thicker foam. You can skip this step if yours was already thick.


STEP 2: GLUE THE TWO PIECES OF FOAM 


I used 3M Super 77 Multi-Purpose spray adhesive to bind the two pieces of foam together. Gotta say I love spray adhesive, super quick and works like charm! But be careful, its very tacky. You will want to protect the work area with scrap cardboard or plastic. I just used the table's original packing.


STEP 3: STAPLE THE BATTING & FABRIC 

Lay the foam on the table top and cover it with batting. You may spray a little adhesive to the table so the sponge won't move while you are stapling the batting. Pull tight as you staple and cut away any excess.


After the batting is done, it's time to staple the fabric of your choice. Before you staple the fabric, make sure you adjust the fabric so the pattern is even. Start stapling with the longer side, staple the middle, then pull the opposite side and staple the middle. Work your way outwards and when your done with the two longer sides, you can repeat the same to the shorter sides. Always check that the fabric pattern is straight while stapling. You have to pull the fabric tightly and evenly otherwise it will result in uneven bumps. Cut away the excess fabric .

How I did the corners

STEP 4: INSTALL THE LEGS AND THAT'S IT!

Make sure you don't cover up the hole for the table legs. Adjust the fabric and cut away more if you need in order to fit the legs.


There you have it!
It only took me a couple of hours to complete and I really like it!


 photo name3a_zps4tnhc2mj.png
Share this post!
Pin This Share on TumblrShare on Google Plus Email This

Friday, April 22, 2016

Walk-in Closet


I think most girls dream about having a walk-in closet but given the small HDB apartment space, we were not given closets in bedrooms. YES, our bedrooms are just big enough to put a bed and side tables. We could if we want, squeeze in one small wardrobe which totally can't hold both our clothes and will make the bedroom super cramped. So we decided to use one of the spare bedroom as our walk-in closet which I call it the "walk-out closet" because this room is next to our master and we have to walk out a few steps to reach this room. We could have took down part of the wall to connect both rooms but we thought it will troublesome if we were to sell this apartment few years down the road. Walking a few steps is still alright I guess!


Preparing for painting! We chose a mint-grey-teal-ish colour from Dulux (I'm sorry, that's the best I can describe!) which I really love!


We also decided on the IKEA Pax System instead of custom built wardrobes as it saved us half the cost and I like the flexibility where I can always go back to the store to get an extra drawer or shelving should I decide to change something. 

Another thing I like about IKEA Pax System is that IKEA has a free online 3D Pax Planner for you to plan and design how you like your Pax System to be. After you selected all that you want including the accessories, the total amount will be shown and you can print out the entire shopping list and simply show it to any IKEA crew and they will get those items for you. That simple!

Plan view of our layout
Inner shelving and compartments

We also made the right choice of hiring IKEA's installation team. They took 2-3 hours for the entire installation. I can't imagine if we were the ones installing them.


The finished product! Initially, I wanted an open wardrobe (without doors) but we decided on having doors to prevent dust and to hide any untidiness. Mirror doors also create an illusion of bigger space. We wanted sliding doors (space saving) but IKEA does not have full plain mirrored sliding door hence we chose the hinged doors instead.


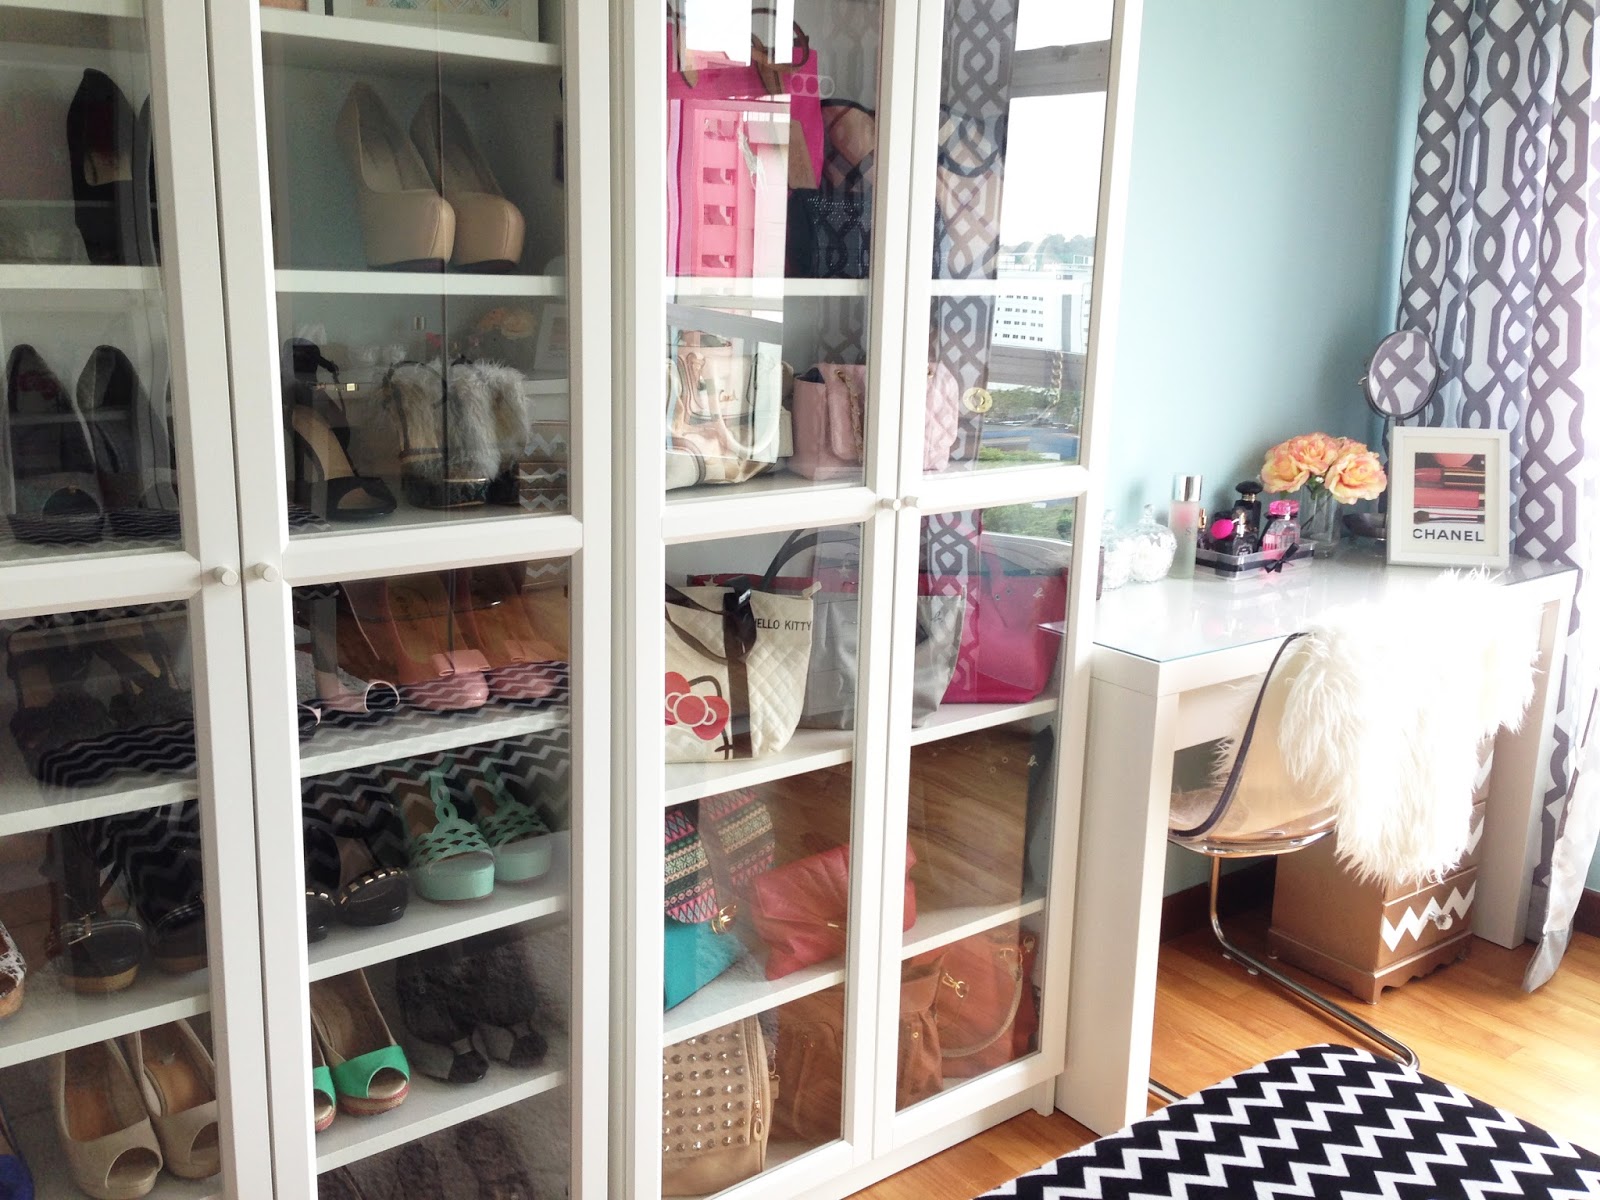
We also got two Billy bookcases for my shoes and bags storage. However, our wall skirting is higher hence we have to cut some of the Billy bookcase off in order to fit against the wall. We also bought extra shelves for extra storage.


The IKEA Malm Dressing Table was awesome. It looks chic, comes with glass top which is always good when it comes to make up, have storage drawer and the right size. No wonder every beauty guru has it! The chair and faux sheepskin were also from IKEA (can't you already tell I love IKEA?).


The rug was also from IKEA and the ottoman was a DIY project which I will share in the next post.
Till then,

 photo name3a_zps4tnhc2mj.png
Share this post!
Pin This Share on TumblrShare on Google Plus Email This

Friday, April 15, 2016

Balcony Decking

It is always a dream of mine to have an apartment with balcony and when we got ours, we are lucky to get the unit that we wanted. No fancy seaside view, but it's ok for a first (and we get to see sunset!).

Despite the small balcony (I am not complaining), we decided to install timber decking. We chose Chengal wood for its durability despite it being on the pricey side. 


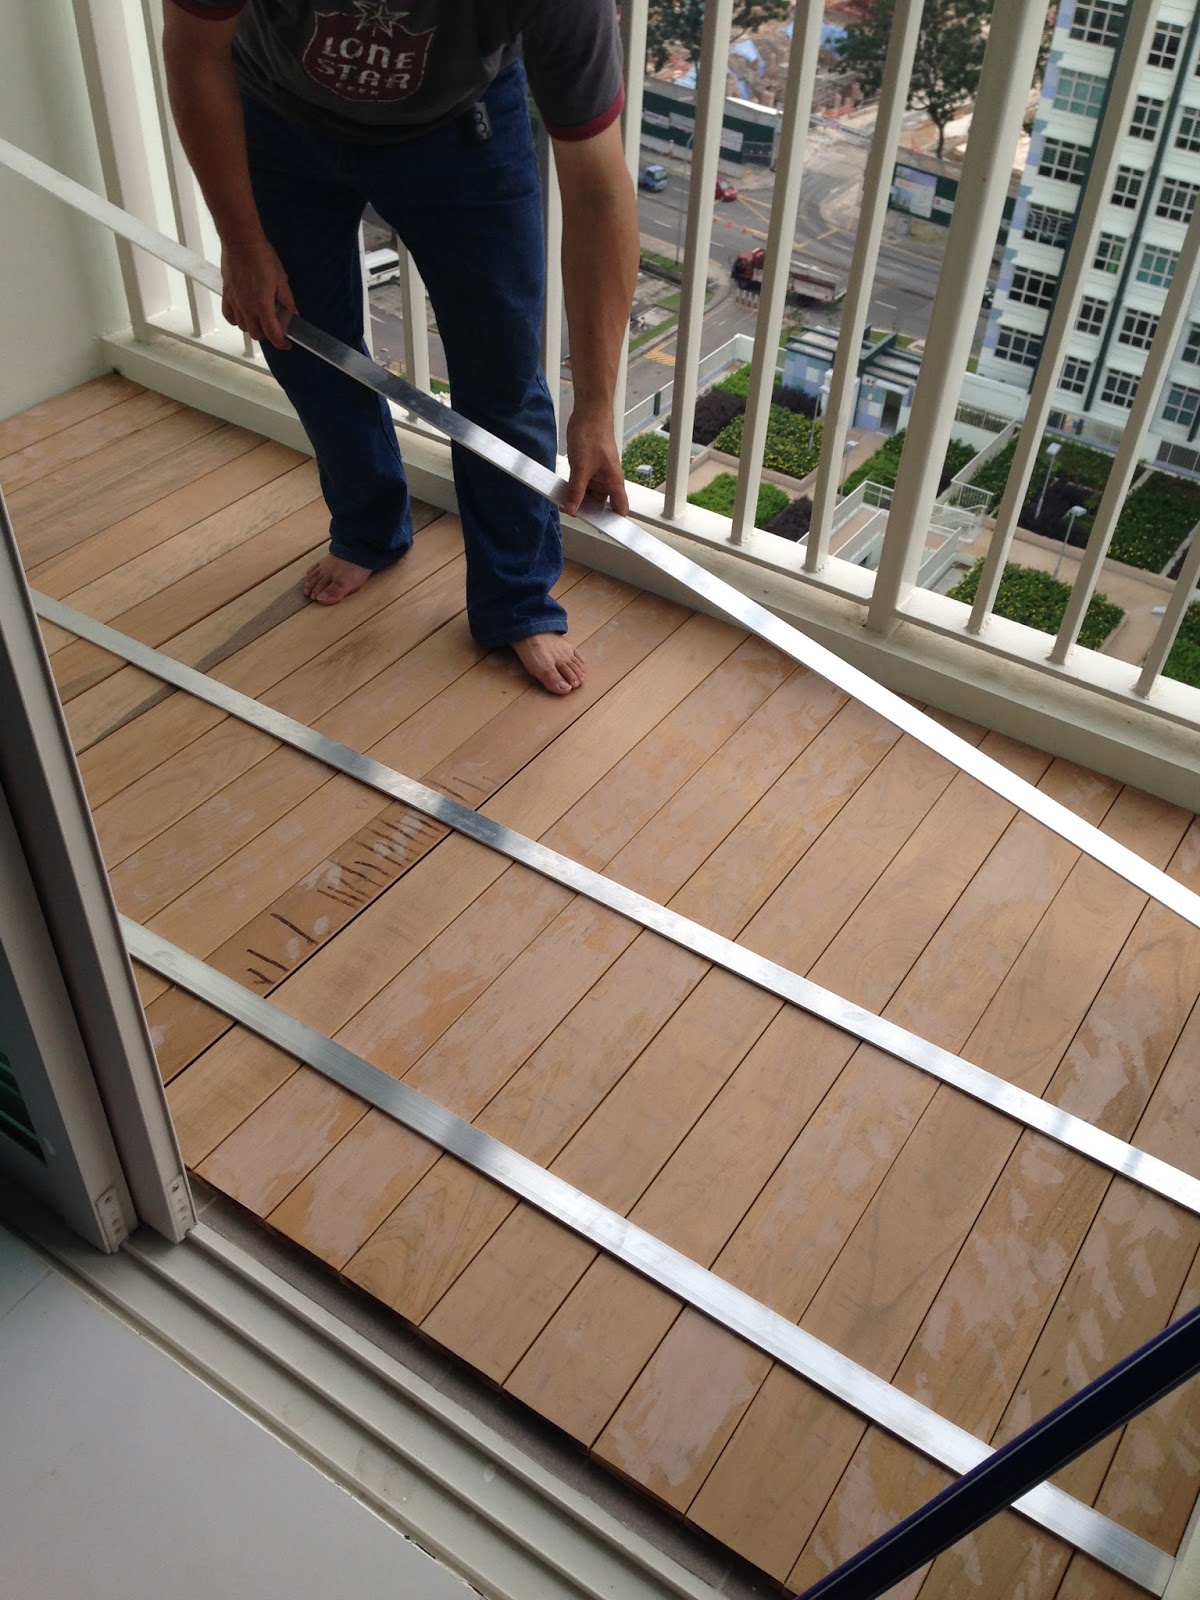
I am blessed to have a very handy dad to help with our renovation process. There he was placing the cut wood to make sure it fits and adding strips of aluminum to slightly raise the decking so water can flow below. For safety reasons, we didn't raise the decking as per normal (higher) and my genius dad came up with the idea of using aluminum strips to raise the decking just slightly. 


The husband drilling holes on the aluminium strips for the nails to attach to the decking, right outside our main door. We have limited working space!


We also sanded the Chengal wood and stained it with dark walnut wood varnish. It is important to varnish your decking for better durability.

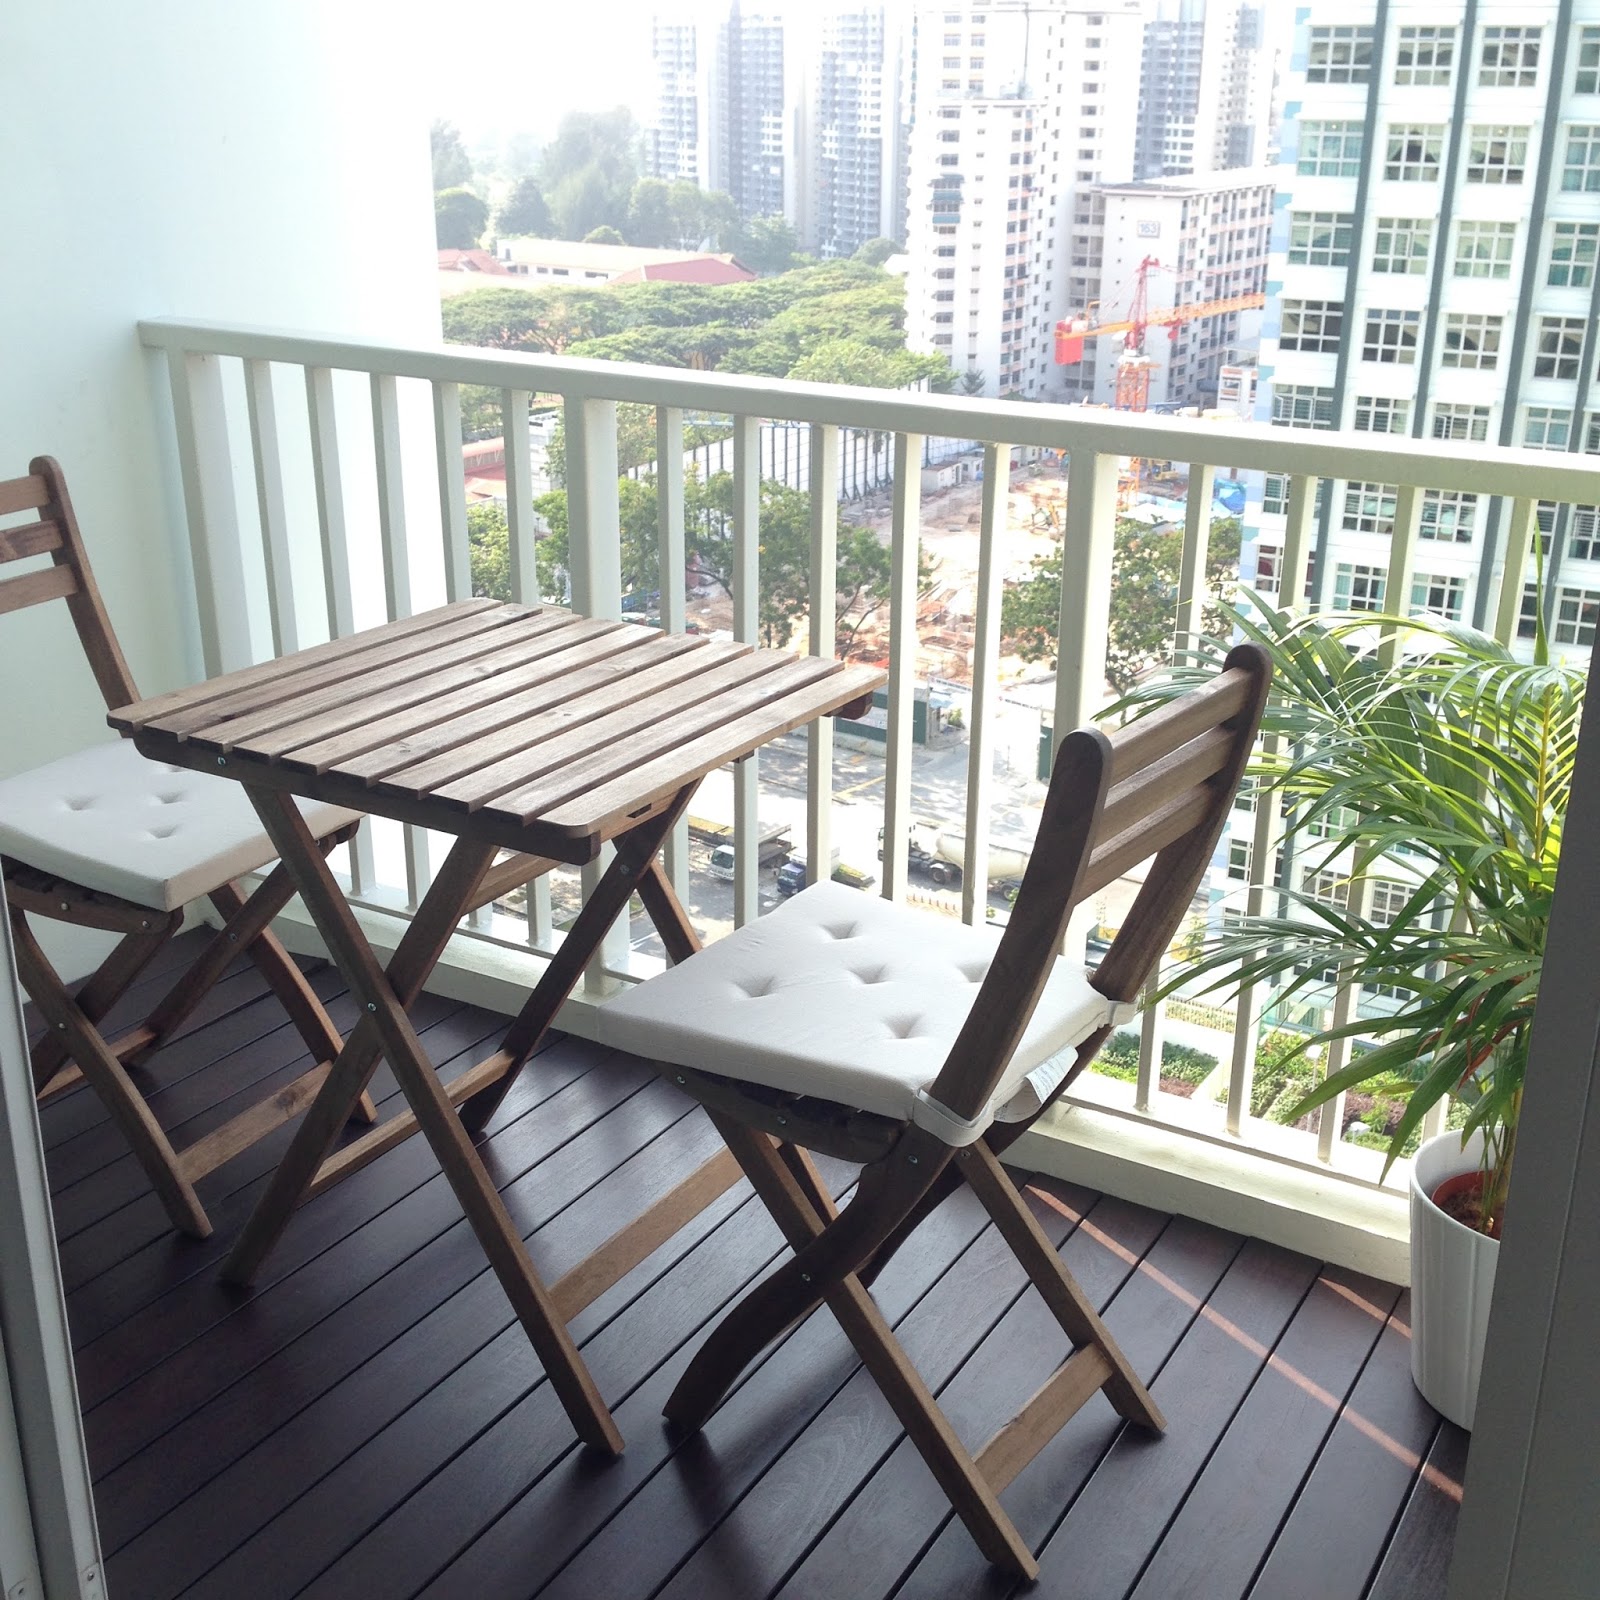
And we went shopping at IKEA for the outdoor furniture. Since we have a small balcony, we have to make sure the furniture we chose fits. There wasn't much choice for us but I quite like the one we got. 

IKEA Askholmen Outdoor Table & Chairs


The finished look!


We also added beige chair pads to the chairs. The plant and pot are both from IKEA.


Now we can enjoy our weekend brunch at our balcony.


The table and chairs are foldable so we keep them after every use to free up the space and to protect the furniture from rain and sun. It is really easy setting them up when needed.

 photo name3a_zps4tnhc2mj.png
Share this post!
Pin This Share on TumblrShare on Google Plus Email This