Tabs

 photo 1_zpsaevl5qya.jpg photo 2_zps1mmrug81.jpg photo 2_zps1mmrug81.jpg photo 3_zps6wyhvccd.jpg photo 2_zps1mmrug81.jpg
Showing posts with label DIY. Show all posts

Wednesday, December 21, 2016

Christmas Table Setting

I will hosting our annual girls Christmas party this year so I thought I will share how I normally get myself prepared in advance so I don't get all mess up on the actual day.

I pre-planned the party menu ahead of time and set out my table setting and decide on which serving wares I would be using, the decor and such. 


I will write down name of the dishes and stick it on the serve wares. Then snap a photo of it before putting them back in the cabinet (obviously we still need the dining table for day-to-day functions before the party). When day of the party comes, I just refer to the photo I took and it will save me a lot of time and headaches. Well, normally the night before the party, I will take out all the serve wares and give them a wash and lay them on the table so it will be ready to use the next day.


Because our dining table is quite small, I am not able to fit regular round plates for the guests. I found these disposable bento boxes which are rectangular in shape and it fits perfectly (and no extra dishes to wash!).


But they did look kinda plain and cheap in white. So I went ahead and draw some vines on it together with the guest's names. Now it looks way nicer and also worked as a place card! 


I could have used disposable plates/trays for all the food but I think using "real" serve wares look much nicer and hold better.

I also use disposable fork & spoon which I jazzed it up a little.


Initially I painted the ends with gold acrylic paint but it needed quite a lot of coats and I don't quite like it. Then I used washi tape instead and love the outcome! 


As I only have about 6 guests for the party, I am fine with doing this extra fancy step. If you are hosting a bigger party, it might be a little time consuming.

Added them into the folded napkin!


I just put them into the bento boxes.


Trial set up done!


 photo name3a_zps4tnhc2mj.png
Share this post!
Pin This Share on TumblrShare on Google Plus Email This

Thursday, December 1, 2016

2016 Christmas Reveal!

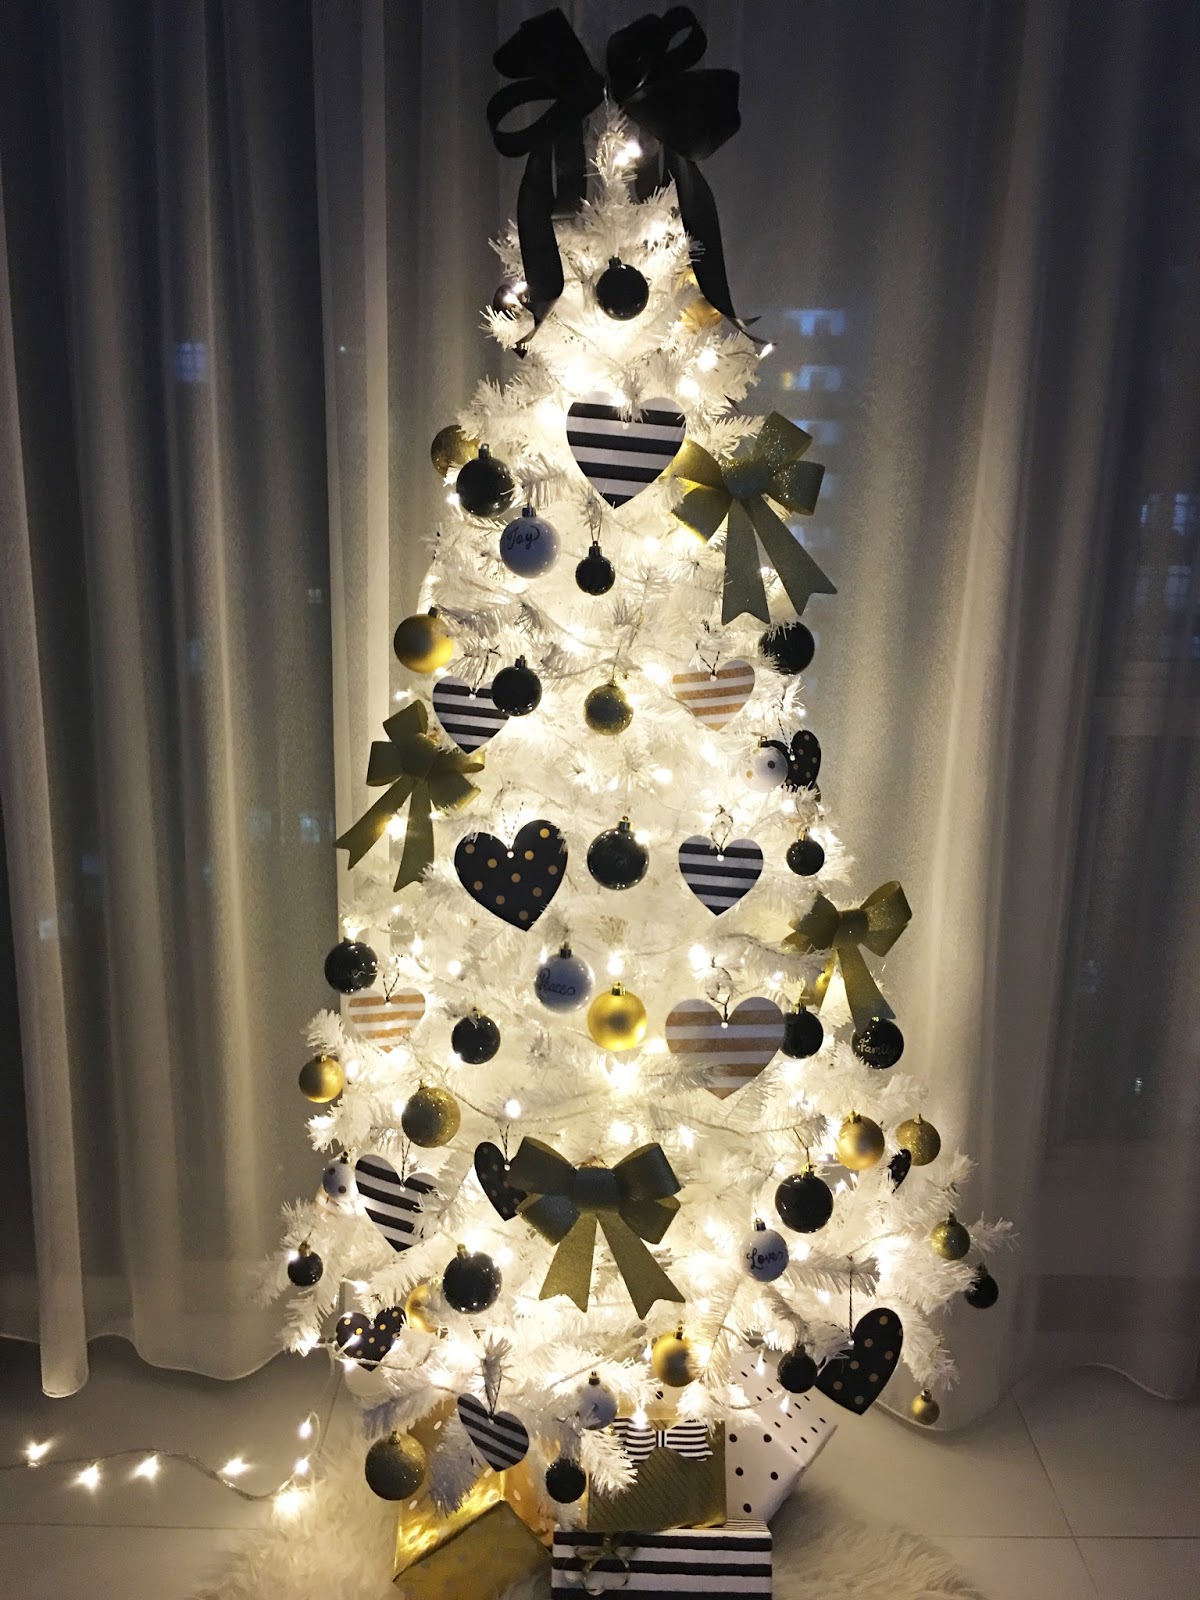
Finally everything is up! It was fun decorating for Christmas this year! I really like this year's theme, which is Black, White & Gold. We got a new white tree this year and I am in full force decorating it! So excite to share the finished tree and some decors around the house!


Started off with the plain white tree. I randomly made the black tree topper bow and was happy how it turned out! I used a 30 metre 300 bulbs LED light in warm white. You wanna make sure the wire is clear or white instead of the classic green wire that goes with the green tree. 

I also use a faux fur rug as my tree skirt. Added the Christmas gifts using my DIY gift wrapper.


I decorated the tree with my Spray Painted Christmas Balls and my heart-shaped DIY Christmas Ornaments.


I saw this really cute Christmas train at Japan Home and I couldn't resist it! It has a headlight and makes train sounds! Only for S$10! 


I made this Mini Christmas Wreath and hang it on the bathroom door!


A display corner on our feature wall full of Christmas Nanoblocks! I really like the DIY mini Christmas bunting too!


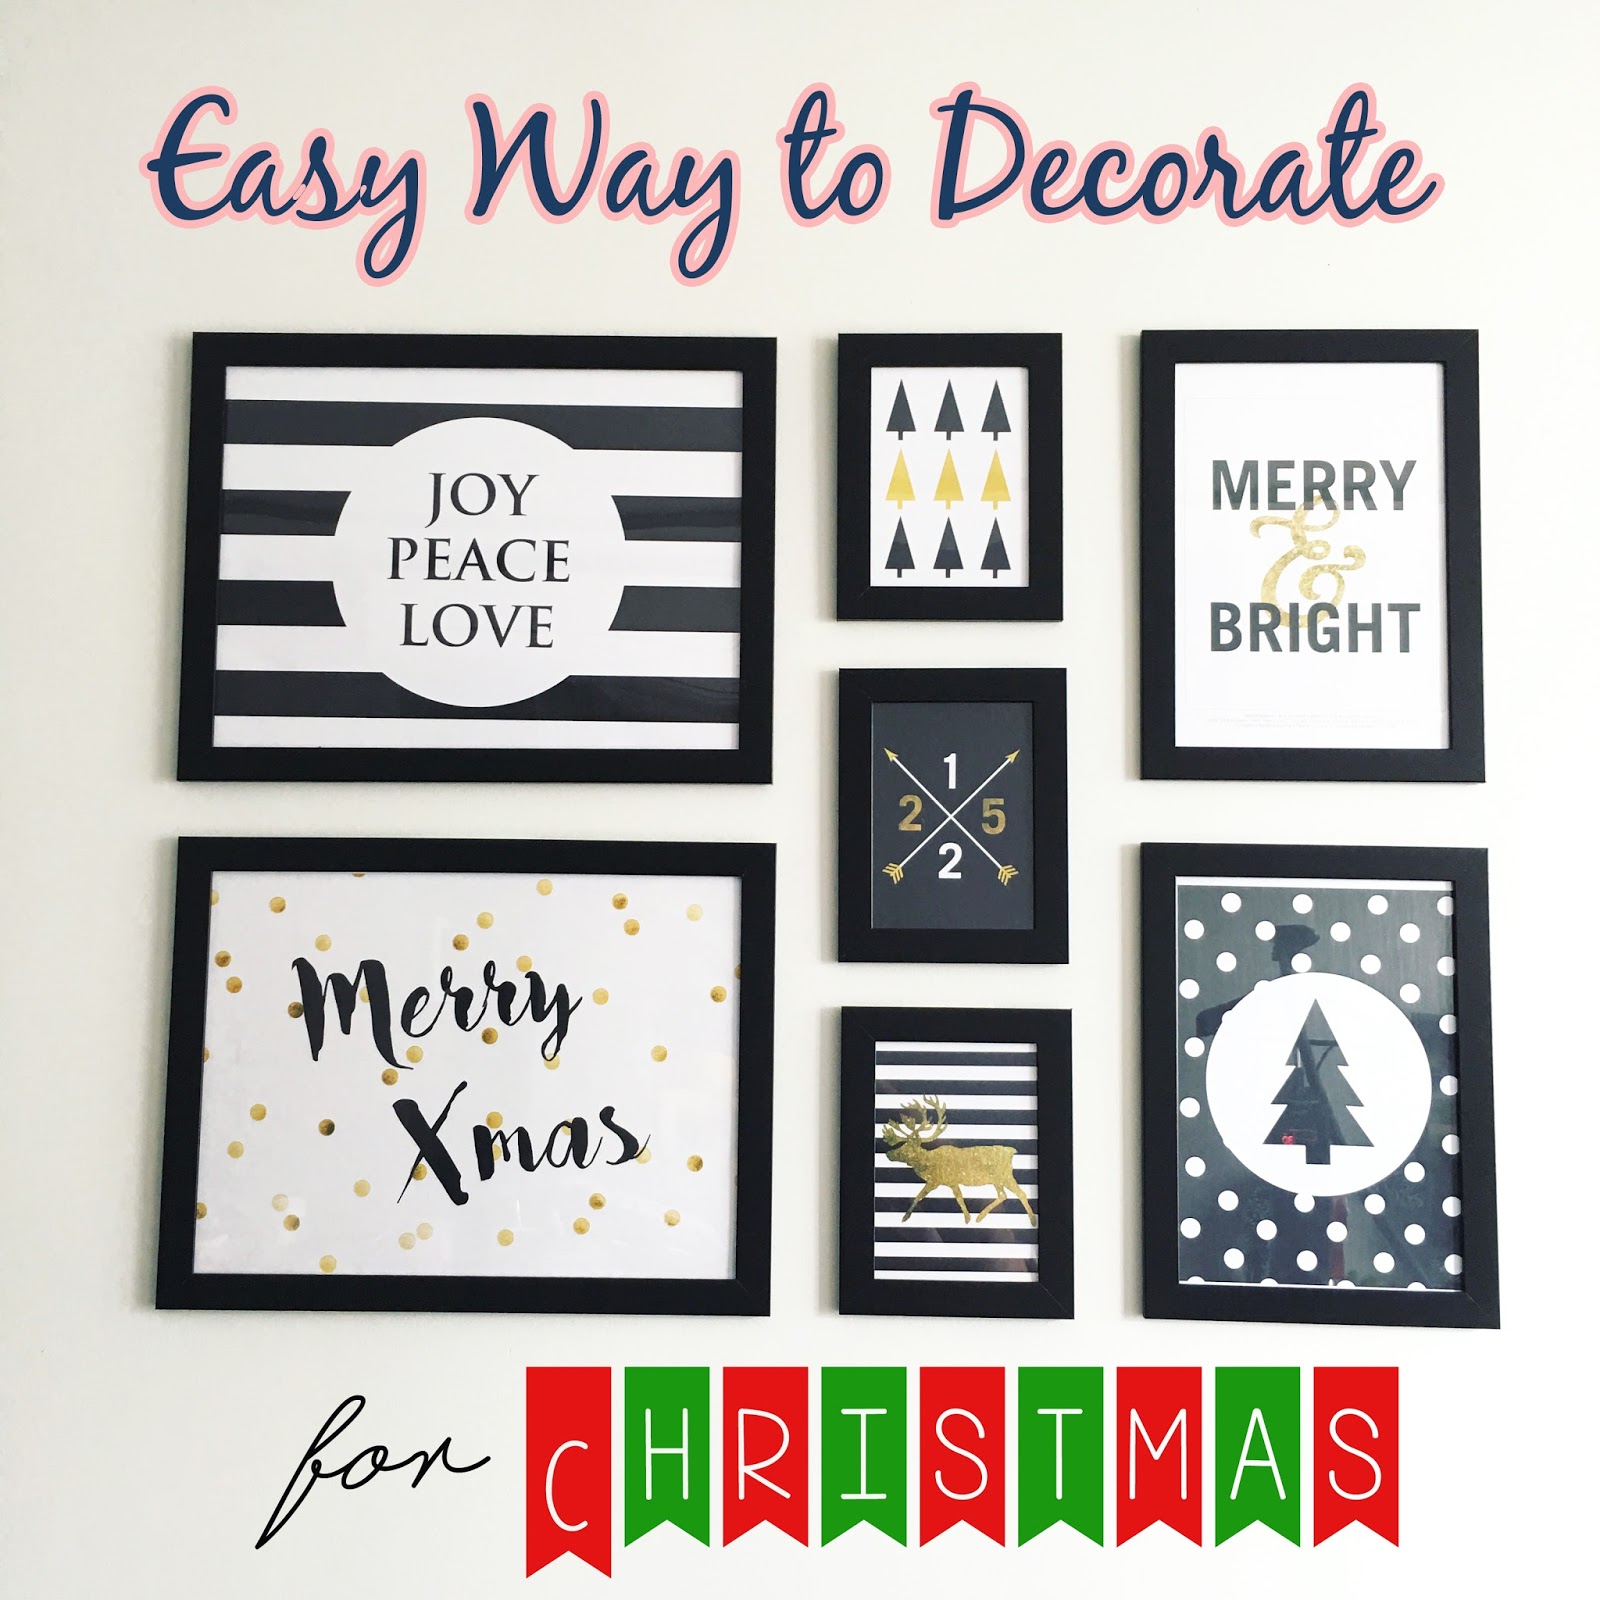
I changed my gallery wall art prints with Christmas ones. Really quick and easy to transform this space! You can the free printables here.


The wall space about my sofa was initially a big canvas painting of the Eiffel Tower but I decided to change this space with some handmade tissue paper pom poms! You can search for "Tissue Paper Pom Poms" on Pinterest and these are lots of tutorial on how to make them. It's really easy to make!

Since I will be sticking the paper pom poms onto the wall, There is no need for me to make a full round pom pom. Hence I only use half of the required tissue paper (about 5-6 pcs), and of course in Black, White & Gold!


I also DIY-ed this bunting! Simply print your desired design into triangles and join them up! Here is another free printable for you!

Black, White & Gold Bunting Free Printable


 photo name3a_zps4tnhc2mj.png
Share this post!
Pin This Share on TumblrShare on Google Plus Email This

Tuesday, November 29, 2016

Christmas Nanoblocks

We never thought we would be interested with Nanoblocks but when we bought our first Santa Nanoblock, we were hooked! And we got a bunch of them to form our Nanoblock Christmas Family.


I think the best way to speed up the process is to categorize the blocks first. We sort them by colour and size. Well, I wouldn't recommend doing this on the bed though.  ðŸ˜‚


First set of our Christmas Nanblocks! We got these four from Japan Home for S$5 each, plus additional 20% off when you spend S$15 or more. I think the Santa's sleigh with the reindeers is really cute!


Then I saw they were selling at Miniso for S$3.90 each only! ðŸ˜’
So I got these two!


We have a feature wall with three display "boxes" and we put these nanoblocks in one of the display box. Can you spot the Mini Christmas Wreath?


I also added a mini Christmas bunting which is so cute! They're only 5cm high! You can easily make your own bunting in any colour! Just print them on card stock paper and stick them to any string or ribbon. Click on the photo below for the link to download the free printable!


 photo name3a_zps4tnhc2mj.png
Share this post!
Pin This Share on TumblrShare on Google Plus Email This

Thursday, November 24, 2016

Easy way to decorate for Christmas


The easiest way to decorate for Christmas is to change up your wall prints! Simple find Christmas related prints online and print them out!

I found some really nice free printables here and also created a few myself.

Here's the Black, White & Gold Christmas Printable free for you!
JOY PEACE LOVE
MERRY XMAS
POLKA DOT TREE

 photo name3a_zps4tnhc2mj.png
Share this post!
Pin This Share on TumblrShare on Google Plus Email This

Tuesday, November 22, 2016

DIY Mini Christmas Wreath

This DIY mini Christmas Wreath was really quick, easy & affordable! I only bought the wooden wreath and the fake vine leaves for this project from Daiso Singapore (S$2 each!), the ribbon I already have on hand.


Start by measuring how much leaves you need. As the leaves were wired, its really easy to assemble. Simply tuck the wire into the tiny gaps on the wreath (no hot glue needed!). Instead of tucking two ends at a go which results in a unnatural looking wreath, I cut them into 3 pieces and tuck in the ends. This way, it looks more natural and won't look like the leaves were floating on the wreath.

You may add ornaments to the wreath but I like this rustic look.


Use command hooks the hang the mini wreath. Add a bow to hide the hook!


 photo name3a_zps4tnhc2mj.png
Share this post!
Pin This Share on TumblrShare on Google Plus Email This

Sunday, November 20, 2016

DIY Gift Wrap

Another challenge I faced was finding the perfect gift wrap to match the theme. During this time of the year, most of the gift wraps were red, green, blue and super cutesy. But that don't match mine! While gold gift wrap is not hard to find, black & white gift wraps are really hard to find. On top of that, I wanted stripes and polka dots.


So I created my own gift wrap! For the black & white ones, I used a couple A3 size white printing paper and drew on polka dots using marker and painted the stripes (yes, hand painted!) with black acrylic paint. Draw stripes with pencil & ruler first for straighter stripes before painting them.

The gold one was a little too plain so I added white sticker dots on them and its super cute! Now I feel all Kate Spade-y!


I added the black & white striped paper bow on it and it look gorgeous!


 photo name3a_zps4tnhc2mj.png
Share this post!
Pin This Share on TumblrShare on Google Plus Email This

Friday, November 18, 2016

Up-cycling Christmas Ornaments - Spray Paint Christmas Balls

The theme for this year's Christmas is Black, White & Gold. But I can't seem to find black or white Christmas balls for the tree! All I saw were gold, silver, red, pink, blue........ WHERE'S BLACK & WHITE? So I had to make my own.


We had these red Christmas balls last year and I thought it will be a great idea to up-cycle these. All you need for this project is your old christmas balls and spray paint colour of your choice. First off, remove the top cap or tape around it. I inserted wooden skewer into the hole so I can spray paint evenly by simply twisting the stick.


My spray paint box set up. Initially I thought this was easier to spray paint but then I realize there were areas that are hard to reach in this set up. Hence I just sprayed ball by ball using the stick twisting method. Much faster and more even coats!


After each coat, I stick them into some leftover styrofoam so they can dry nicely without smudging the surfaces. I did two coats for black and 3 coats for white.


After completely dried, remove the tape and ta-dah! As good as new!


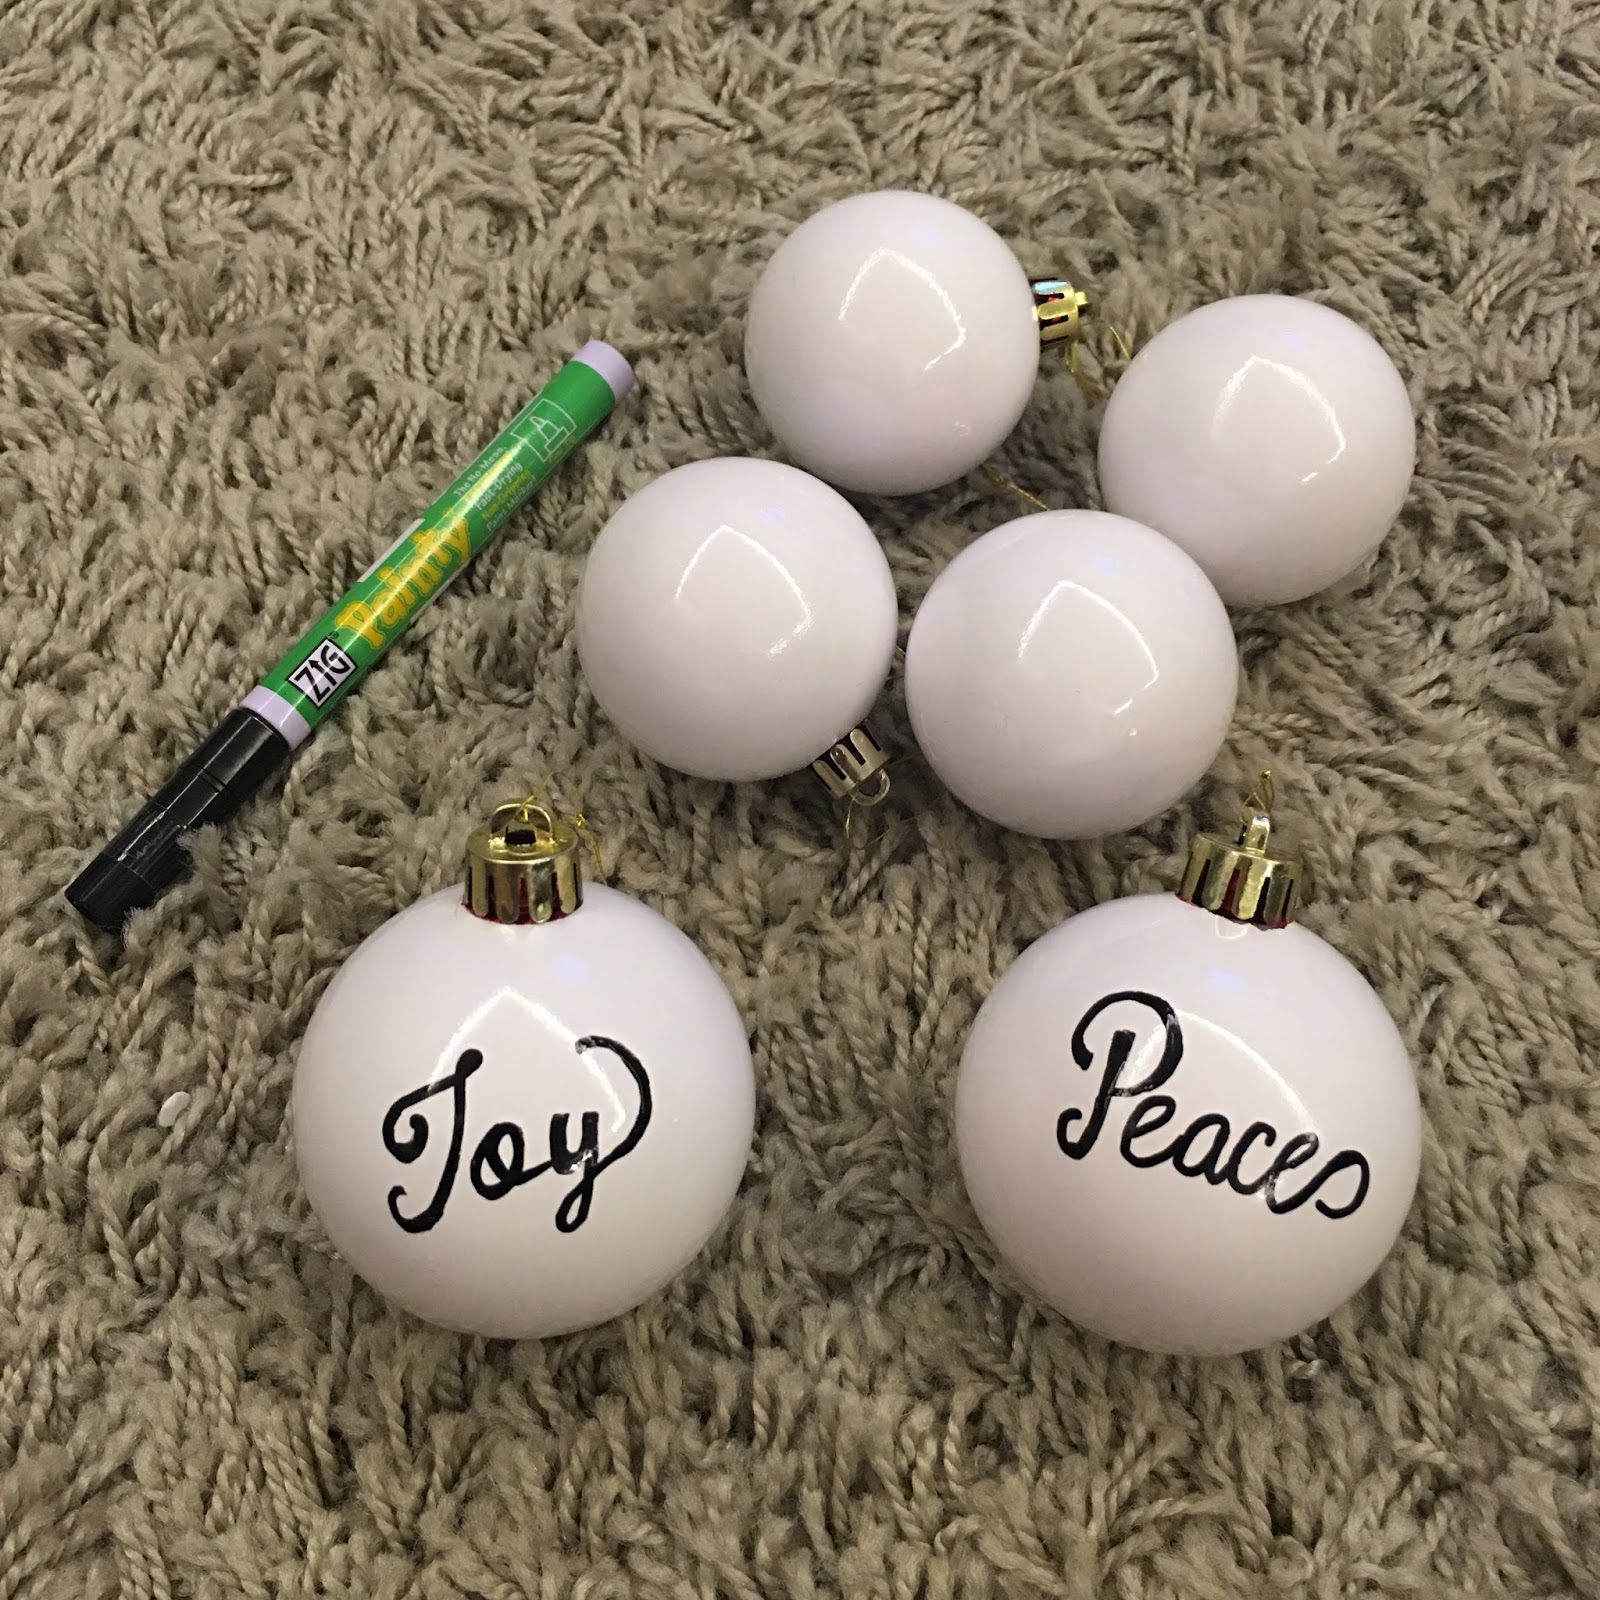
Then I proceed to hand write some Christmas words on to the balls such as Merry, Peace, Joy etc. One tip, research on the font you want and practice writing before writing on the balls. You wont be able to remove any mistakes without ruining the spray paint! I used oil based markers for permanent results.


Besides writing words, I also drew gold polka dots on a couple of balls. Hope you have fun making your own Christmas Balls!
 photo name3a_zps4tnhc2mj.png
Share this post!
Pin This Share on TumblrShare on Google Plus Email This